Showing posts with label process shots. Show all posts

Thursday, April 6, 2023

Evening Silhouettes and Process Shots!

Evening Silhouettes Study, 8x8, oil on panel, L. Daniel © 2023
SOLD

Wishing you all the happiest Easter. He is Risen! He is risen indeed! 

Here are process shots of this piece. It's always fun to see how they come together, and this one had a little bit different start. 

Paper towel wipe out to establish shapes and get rid of the white canvas.

Outlined the silhouette before going in heavy. 

Painted silhouette and orange base for sky.
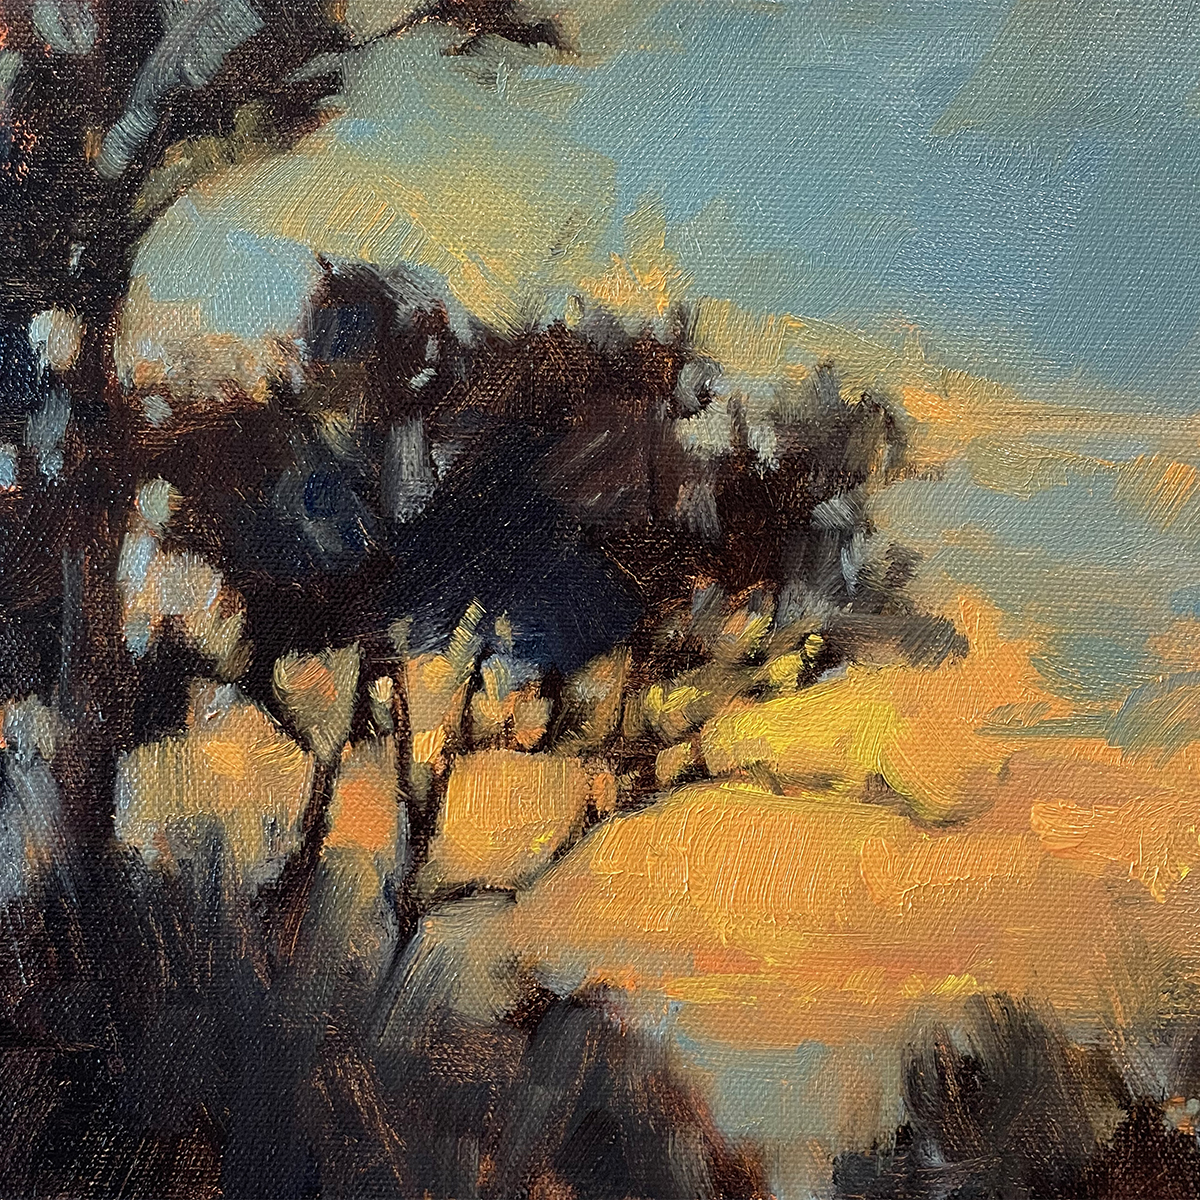
Pulled dying sky color down into the orange base, defined shapes.
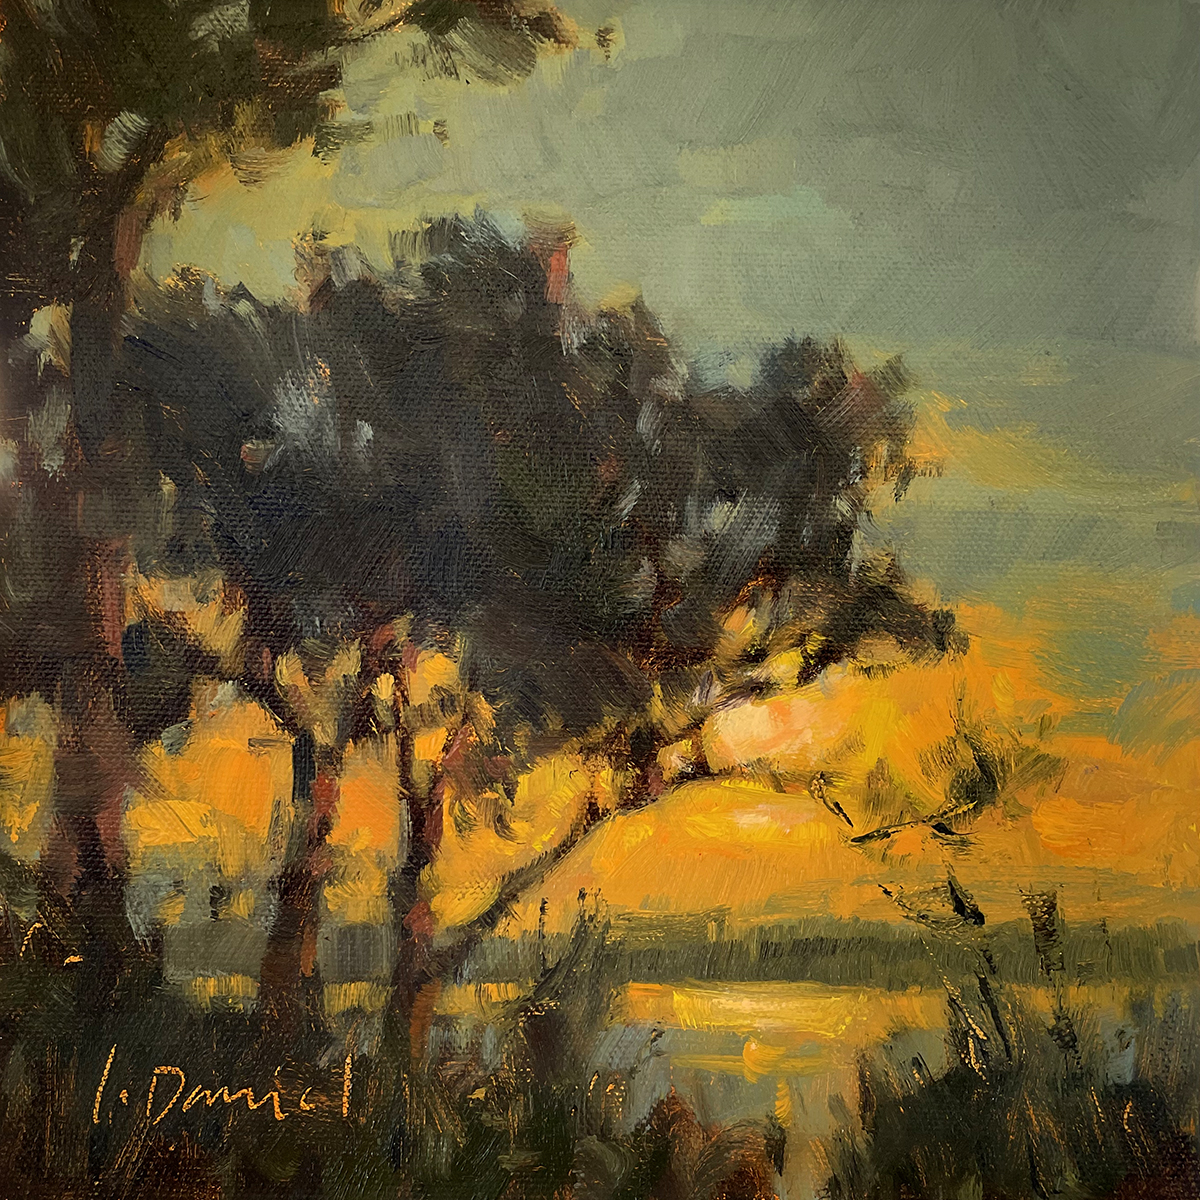
Modified sky and added distant horizon. Popped the lights in attempt to capture the glory of the sky. Always trying... 

_____________________________

Just for fun... here is a large one I did from the "study". The darks gave me fits with photographing, but I thought you might be interested in changes from small to large. I took out the side tree and moved the sun (it felt trapped in the branches on the small one.) And I kept more of the orange. I kind of love this one, and am keeping it... sometimes a girl wants one for herself! ;)  

Evening Silhouettes, 24x24, oil on canvas, L. Daniel ©2023
Painted from the small study above - SOLD. 


Tuesday, January 18, 2022

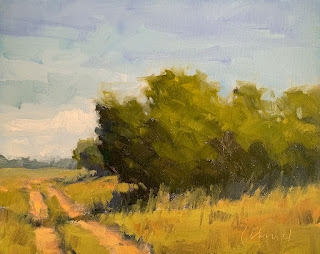
The Road Goes on Forever - process shots (and a song!)


The Road Goes On Forever, 8 x 10, oil on panel
SOLD

Today's painting title comes from a song of the same name by Texas singer-songwriter, Robert Earl Keen. It's fun to be in a concert when he sings the chorus, "the road goes on forever and the party never ends!", because EVERYONE joyfully jumps in. It's contagious!! Robert Earl announced his retirement last week... but I have to say, it's for all the right reasons. He wants to go out while he still LOVES what he is doing (not because he is sick or tired or bored). Good for him!! 

This painting is a demo from my last workshop. Throughout the painting session we all kept singing that song's refrain (well, some did, and you Texans know who you are), so I had to use it for the title. An homage.

And below... process shots... the road goes on forever... 

1) Sketched outlines of big shapes for placement, size and composition.


2) Blocked in masses of value, to indicate the planes of the landscape:
Upright plane, distant upright plane (or slant), ground plane, and sky plane.

3) Massed in best average value of greens for the uprights.
Distant uprights are cooler and more muted than foreground uprights.

4) Massed in ground plane observing color changes within the overall value.

5) Added sky plane, and included a variety of temperatures at the horizon. 
Broke up masses in each plane with highlights and lowlights. 

... and the party never ends!!! 
Thank you, Robert Earl Keen!

Tuesday, February 9, 2021

Marsh's Edge - Demo with Process Shots!

Marsh's Edge, 8 x 10, oil on panel, L.Daniel © 2021

One of my students pointed out that I had never posted the demo from my last workshop on St. Simons Island. Of course, I am HAPPY to oblige! MORE than! And by the way, if you are looking for an "in person" plein air workshop this spring, join me back in Georgia in April (the week after Easter!)

Upcoming workshops:

Compose with Lines and Shapes.
Create an "envelope" to contain shapes using ultramarine and burnt sienna.

Block in dark value pattern of large shapes.
Keep marks loose and expressive. Still using only ultramarine and burnt sienna.

Mass in Upright Planes.
Paint "shadow family" first, using best average value (not highlight value).

Mass in Ground Plane and Sky Plane.
Paint around uprights, "cutting" and "carving in" for details and sky holes.

Final Marks.
Break up large masses by adding "light family" in all the planes, and final highlights.

Thursday, November 5, 2020

From A Distance - Demo Process Shots!


From a Distance, 8 x 10, Oil, L. Daniel © 2020

Yesterday I had the great privilege of doing a LIVE interview and painting demo with Eric Rhoads, publisher of PleinAir Magazine, and Fine Art Connoisseur. He has been broadcasting with a different artist every day since the pandemic started... what a gift to artists all over the world! I was interview #224! 


For my short LIVE demo, I showed my "Block In" technique - how I get started on a painting. I worked from a completed demo piece I had done for my most recent workshop. The images below show where the painting would've ended up if I finished it, AND aprocess shots of how it would have all come together. 


To My Workshop Students: 
As promised, these process shots are also for YOU... a reminder of the steps we took in class!

Block In Sketch
Loose lines define simple shapes for placement of subject matter. Shapes only, NO detail. (Ultramarine Blue and Burnt Sienna)


Block In Values (darks and lights)
Loosely massed in value indicates the light and family side of the upright planes. Notice that the nearer upright planes have darkest darks, while distant uprights begin to lighten and become less defined.

Upright Planes - Shadow Family and Light Family
Mixed color is consistent with block in values and loosely massed in. Notice that distant uprights are cooler, lighter, and have less contrast. The farthest upright is muted, lighter, and leans toward blue.

Ground Plane
The ground plane is much lighter than the upright planes because it is parallel to the sky and light source - the sun. Notice that the ground plane becomes cooler and slightly darker as it moves into the distance. Conversely, the ground plane becomes more vibrant as it moves closer.

Sky Plane
The sky plane recedes by becoming more muted and lighter on the horizon. Space for clouds is left white, to be painted after all the other values and colors are established.

Clouds - Breaking up the Masses - Highlights
After all the large areas are massed in, I break them up with subtle value shifts and highlights. I have learned (the hard way) to make sure all the value planes are all reading correctly before adding these final details! ;)

My palette of mixed colors used in the painting.

Wednesday, August 21, 2019

Seaside Blossoms - Getting Started with a Strong Underpainting

Seaside Blossoms, 36 x 18, Oil on canvas, L. Daniel © 2019
Painted for solo show, "Beaches, Birds and Botanicals"
SOLD

I receive many inquiries from budding artists about how to get started on a painting. My answer is always the same, "Invest in your block-in and under painting." What does that mean exactly? For me, it begins with a loose, painterly sketch using ultramarine and burnt sienna... 

My first concern is for placement of the subject and establishing my composition. I establish linear boundaries to contain the various areas of the painting. This helps prevent elements from growing.


Next I consider placement of values (meaning lights and darks of the overall painting), and begin to develop the shapes. This is also the best time to make any needed adjustments to the drawing and overall composition. 


Ultimately, I want my block-in to be a road map to my finished painting. If I take the time to invest in this stage of a painting, it usually tells me exactly where to go next.

Seaside Blossoms, 36x18, oil on canvas, L. Daniel © 2019

Join me for an upcoming workshop...
Fall Plein Air Workshop at Contemporary Austin Art School, Nov. 8-9, 2019 - Register Here